 Rocket Proxy
Getting started
tvOS App Store → same Apple Account → connect
Rocket Proxy on Apple TV is built for the couch: a big Connect screen, remote-friendly controls and the same private tunnel engine as your other devices. It requires tvOS 16 or later.
How to use
- Open the App Store on Apple TV and install Rocket Proxy.
- Make sure Apple TV is signed in to the same Apple Account and iCloud as your iPhone, iPad or Mac.
- Open Rocket Proxy, approve the VPN configuration when tvOS asks, then use the Connect screen as home base.
Set up on iPhone/Mac first, sync to TV
More → iCloud Sync
This is the power-user flow for tvOS. Create servers, rules and encrypted DNS resolvers on a keyboard-friendly device, push them to your private iCloud store, then pull them down on Apple TV.
How it works
iCloud Sync uses your private CloudKit storage. Your servers, rules and DNS settings follow your Apple Account; Rocket Proxy cannot read your iCloud data.
How to use
- On iPhone, iPad or Mac, open More → iCloud Sync and turn on iCloud Sync.
- Add or edit your servers, routing rules, Smart DNS resolvers and streaming setup there.
- Choose Push Now on the device where you made changes.
- On Apple TV, open More → iCloud Sync and choose Pull Now.
Navigating with the Siri Remote
Focus-driven tvOS interface
tvOS is focus-based: the highlighted card, button or row is the thing that will activate. Rocket Proxy keeps actions large and predictable so you can drive the tunnel from the sofa.
How to use
- Swipe or press the clickpad edges to move focus between tabs, rows and buttons.
- Click the centre of the clickpad to select the focused item.
- Press Menu or Back to leave a detail screen or go up one level.
- Use dictation or the iPhone Remote keyboard when tvOS offers text entry.
One-click connect & the big-screen hero
Connect tab
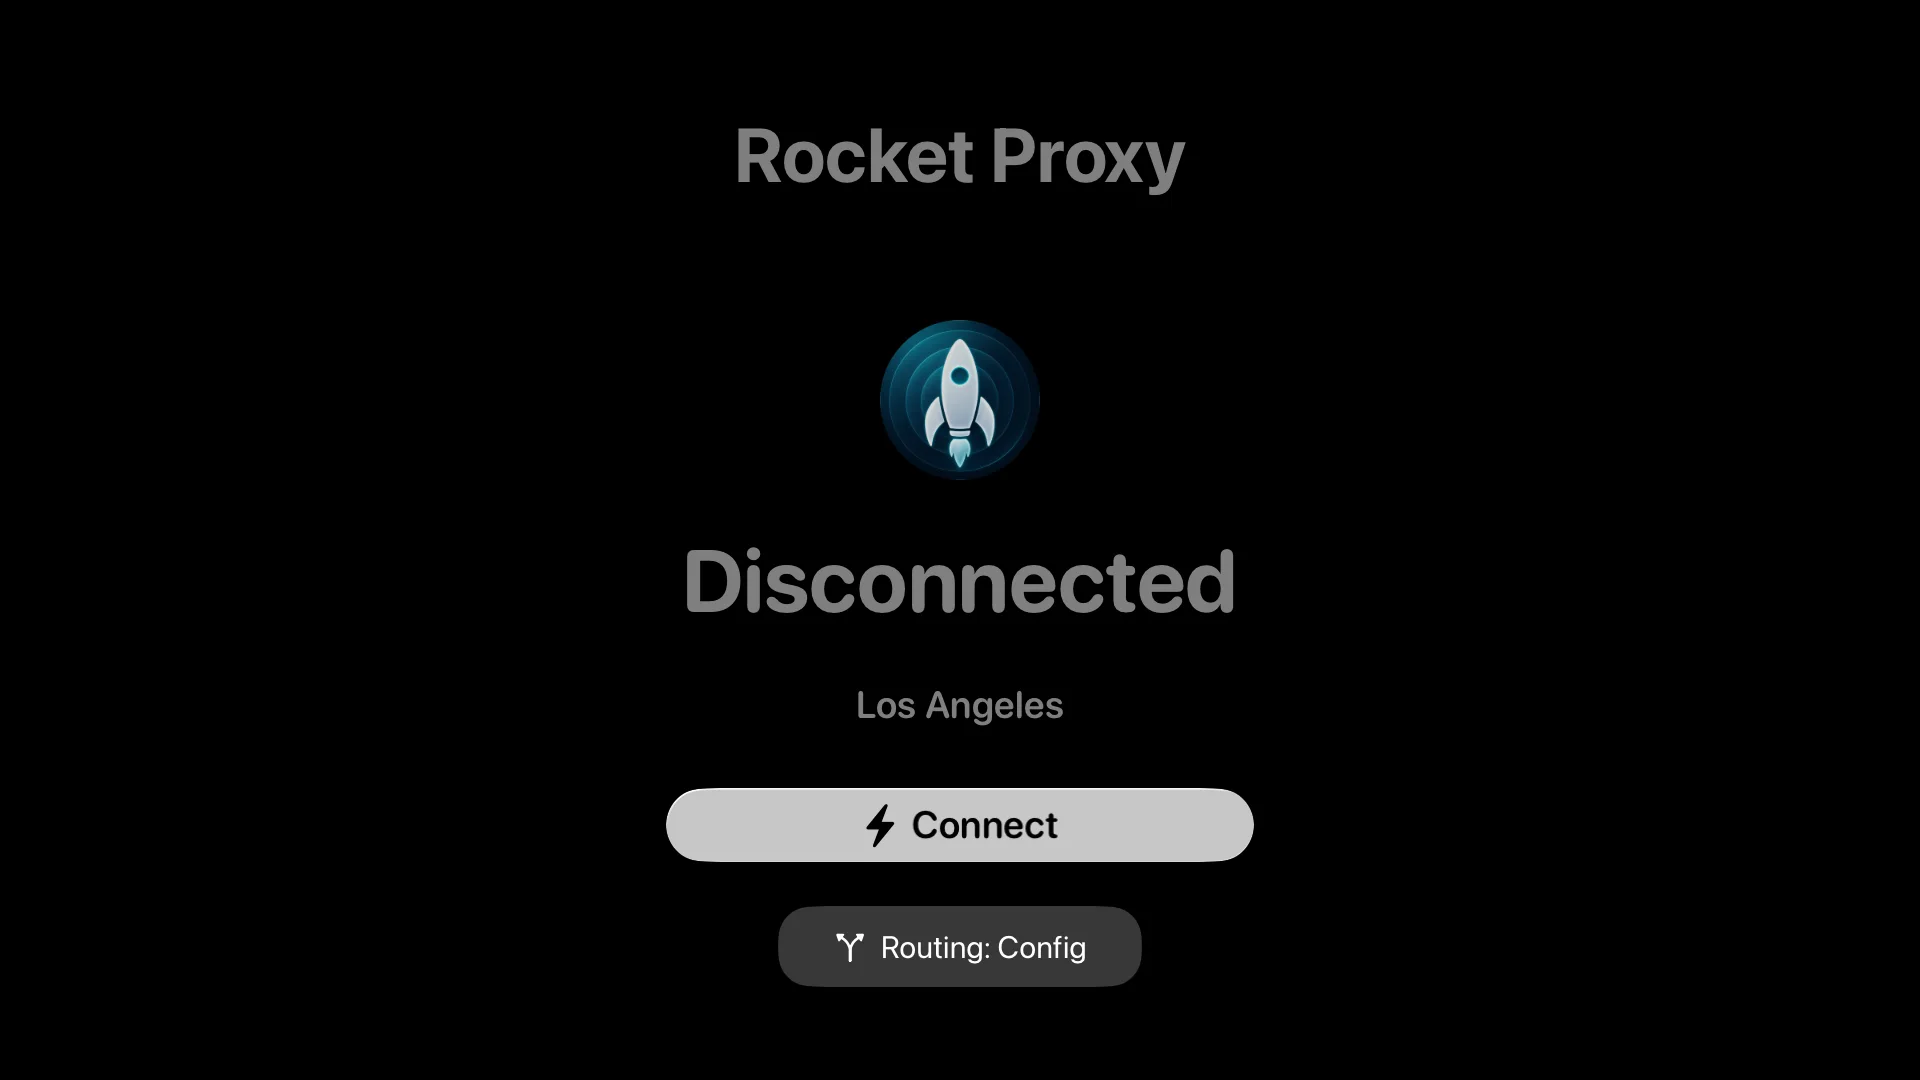
The Apple TV Connect screen is designed to be readable across the room. It shows the selected server, tunnel status, routing mode, live speed and data usage while the VPN is running.
How it works
When you connect, RocketCore establishes the selected protocol tunnel and tvOS routes matching traffic through it. The live readouts come from the running engine, so the screen reflects the real session.
How to use
- Open Connect.
- Move focus to the main Connect button and click the Siri Remote.
- Leave the screen open to monitor Download, Upload, data used and connection status.
- Click the same control again to disconnect.
Routing modes
Connect tab → Routing Mode
Routing modes decide what your Apple TV sends through Rocket Proxy. For a TV, the goal is usually stable playback with only the traffic that needs help being routed.
The four modes
- Smart — follows your rules: regional, streaming and privacy traffic can go through the proxy while ordinary local traffic stays direct.
- Proxy Everything — sends all Apple TV network traffic through the selected server for maximum consistency.
- Direct — keeps the tunnel available for DNS and filtering while traffic otherwise goes direct.
- Local Mode — runs local network-level ad-blocking and encrypted DNS with no remote server.
How to use
- On Connect, focus the Routing Mode control.
- Click, choose a mode, then press Back to return to Connect.
Smart Route
Connect / Smart Connect
Smart Route is ideal for unattended living-room use. It picks the fastest reachable server and can auto-heal by moving away from a node that stops responding.
How it works
Rocket Proxy latency-tests your candidate servers, ranks them, connects to the best option and monitors health during the session.
How to use
- Sync at least two trusted servers to Apple TV.
- Open Connect or More → Smart Connect and enable Smart Route.
- Connect normally; Rocket Proxy chooses and maintains the best node.
Servers & 20+ protocols
Servers tab
Apple TV supports the same broad protocol engine: Shadowsocks, ShadowsocksR, VMess, VLESS, Trojan, Hysteria, Hysteria2, TUIC, AnyTLS, WireGuard, SSH, Snell, Brook, Mieru, SOCKS5 and HTTP/HTTPS, plus v2ray-plugin and obfs.
How to use
- Prefer adding and testing servers on iPhone, iPad or Mac.
- Use iCloud Sync → Push Now there, then Pull Now on Apple TV.
- If you must add one directly, open Servers, choose Add, enter the protocol details and save.
Streaming Mode
More → Streaming Mode
Streaming Mode is the TV feature to know. It tunes routing so media and streaming apps resolve through the right region, keep playback paths consistent and avoid sending unrelated traffic through a distant server.
How it works
Streaming services often use a mix of app domains, login domains, CDN hosts and regional lookups. Streaming Mode keeps the pieces that need regional routing together while letting compatible traffic stay fast and direct where your rules allow it.
How to use
- Open More → Streaming Mode.
- Enable it and choose the target region or streaming profile if prompted.
- Use Smart mode for a balanced setup, or Proxy Everything if a particular app needs one consistent region.
- Connect, then fully reopen the streaming app so it performs fresh DNS and region checks.
Regional rules
More → Regional Rules
Regional rules help keep location-sensitive TV apps behaving as expected when you travel or use a server in another country.
How to use
- Set the region on iPhone, iPad or Mac if you prefer, then sync it to Apple TV.
- On Apple TV, open More → Regional Rules to review or enable the region set.
- Update the set periodically so new service domains are included.
Network ad-block
More → Ad Blocking
Network ad-block filters known ad and tracker hosts before they load. On Apple TV, that means protection for apps at the connection layer, not just in a browser.
How it works
Rocket Proxy matches outbound requests against maintained block lists inside the tunnel or Local Mode and rejects known ad/tracker destinations.
How to use
- Open More → Ad Blocking.
- Turn it on, then connect in Smart, Proxy Everything or Local Mode.
- If an app misbehaves, temporarily disable ad-block or add an allow rule from iPhone/Mac and sync it back.
Smart DNS
More → Smart DNS
Smart DNS resolves names over encrypted DNS so lookups cannot be casually read or tampered with on the network. Rocket Proxy supports plain IP resolvers plus DoH, DoT and DoQ.
How to use
- Add resolvers on iPhone, iPad or Mac under More → Smart DNS.
- Sync to Apple TV with iCloud Sync.
- On Apple TV, review the resolver and connect; DNS follows your active routing mode.
https://, tls:// or quic:// resolver URLs.On-demand & auto-connect
More → Smart Connect
On-demand keeps the tunnel ready whenever the Apple TV is awake, so the living-room connection does not depend on someone remembering to open the app first.
How to use
- Open More → Smart Connect.
- Enable Auto-connect rules / On Demand.
- Choose when Rocket Proxy should connect automatically, then return to Connect to confirm status.
Privacy & tvOS limits
Zero logs
Rocket Proxy is built around a simple promise: zero logs. Your connection history is not kept, and iCloud-synced configuration lives in your own Apple account storage.
How to use
- Review the policy at Privacy Policy.
- Use servers you trust.
- Keep sensitive setup work on iPhone, iPad or Mac, then sync to Apple TV.