 Rocket Proxy
Getting started
Install → add a server → connect
Rocket Proxy wraps a custom high-performance networking engine (RocketCore) in a fluid SwiftUI app. There's no account and nothing is logged. You'll be connected within a minute.
How to use
- Install Rocket Proxy from the App Store and open it. Swipe through the short onboarding.
- Go to the Servers tab and add a server, or tap the built-in demo server to try instantly.
- Return to Connect and press the big power button. Tap Allow when iOS asks to add a VPN configuration (one-time).
- You're protected. The globe animates and live speed appears.
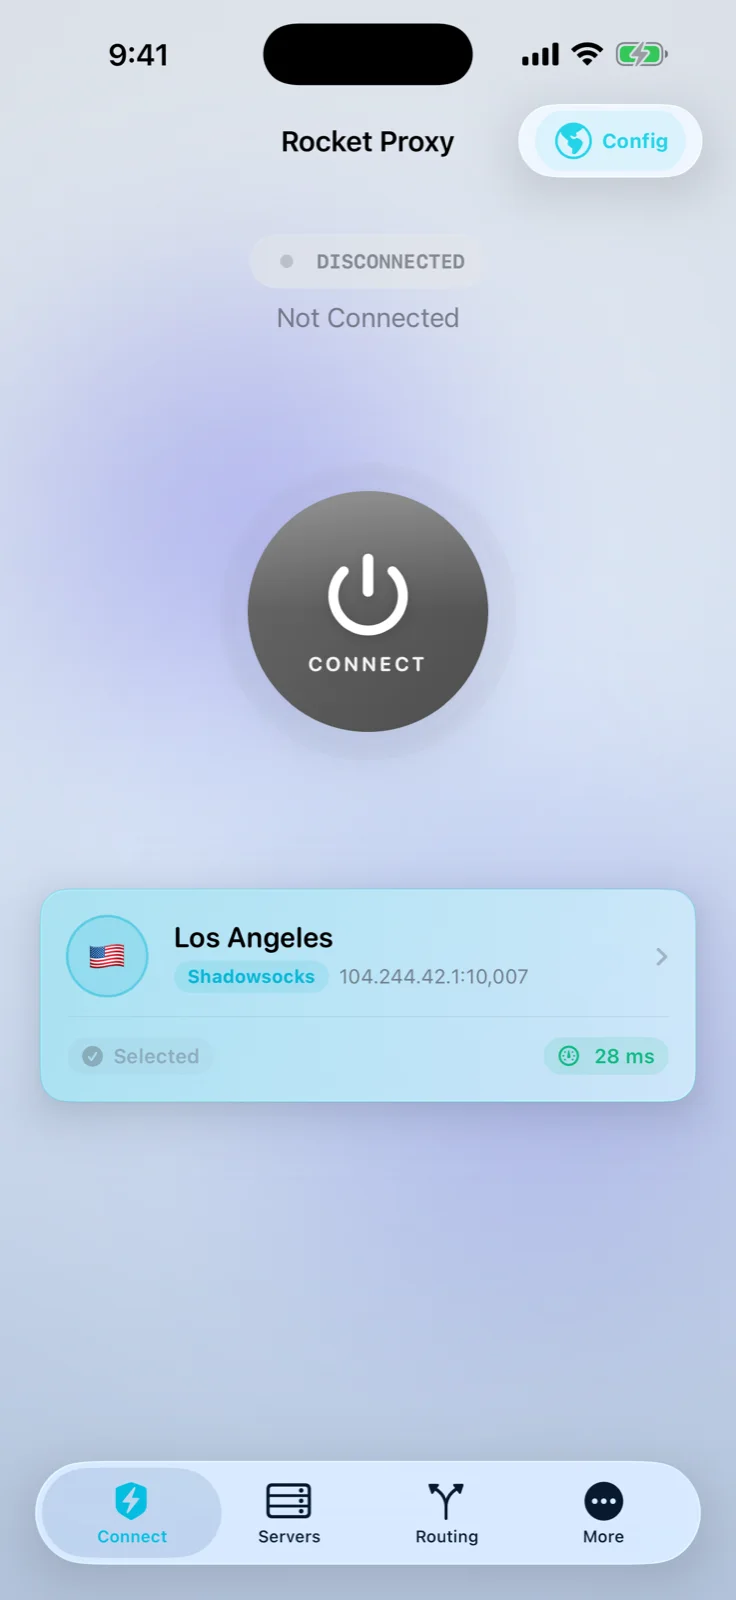
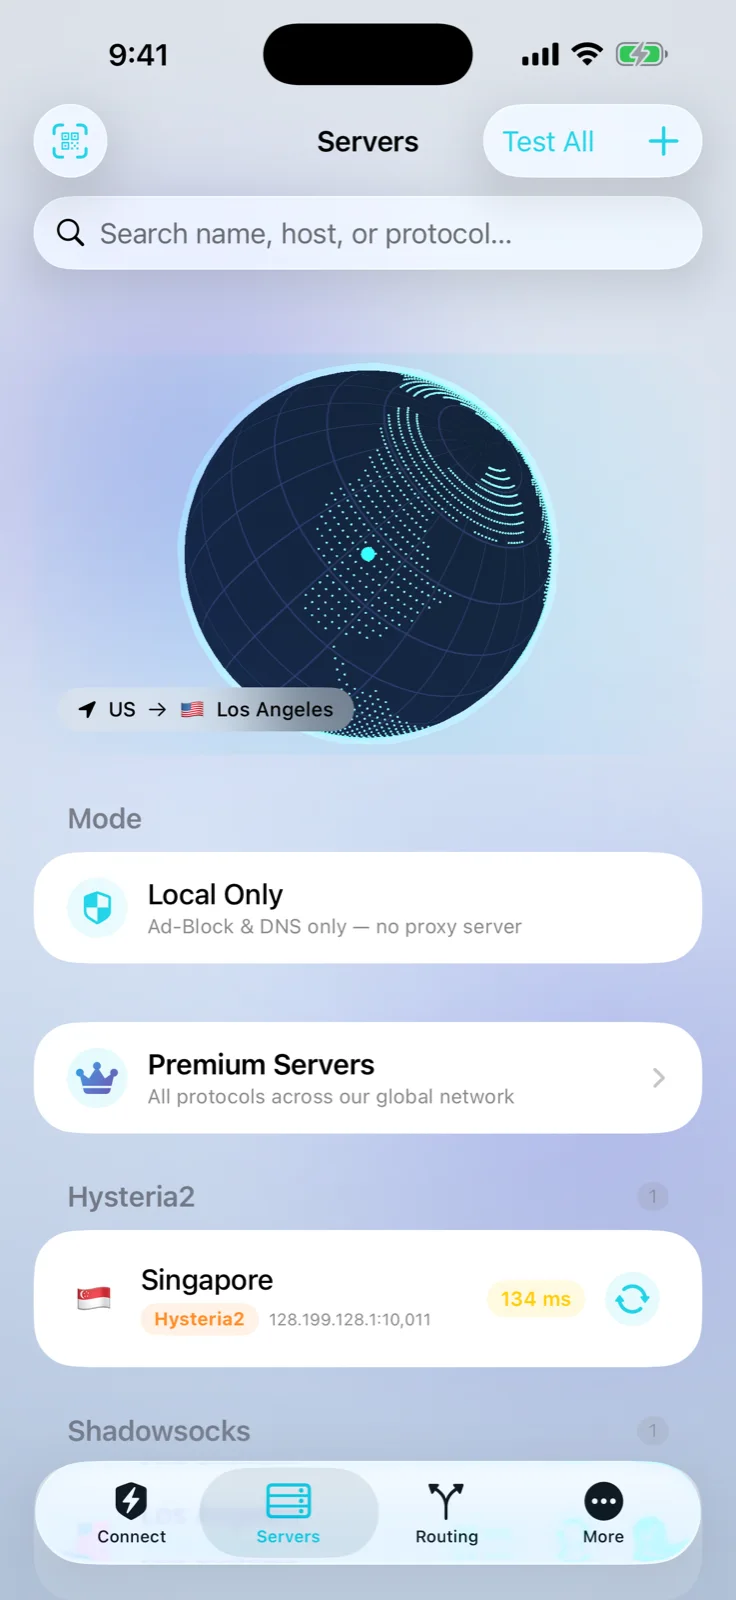
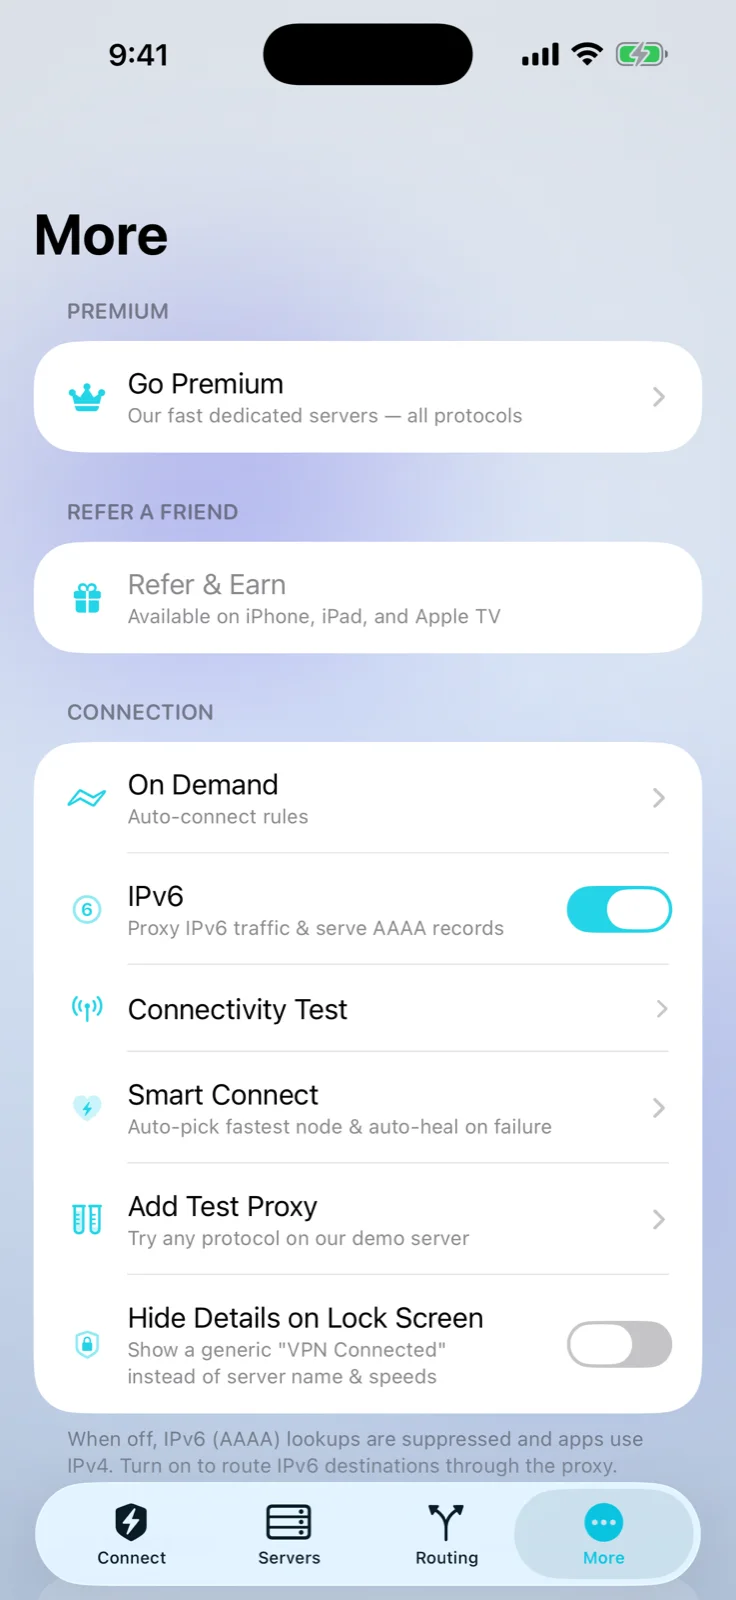
One-tap connect & the live globe
Connect tab
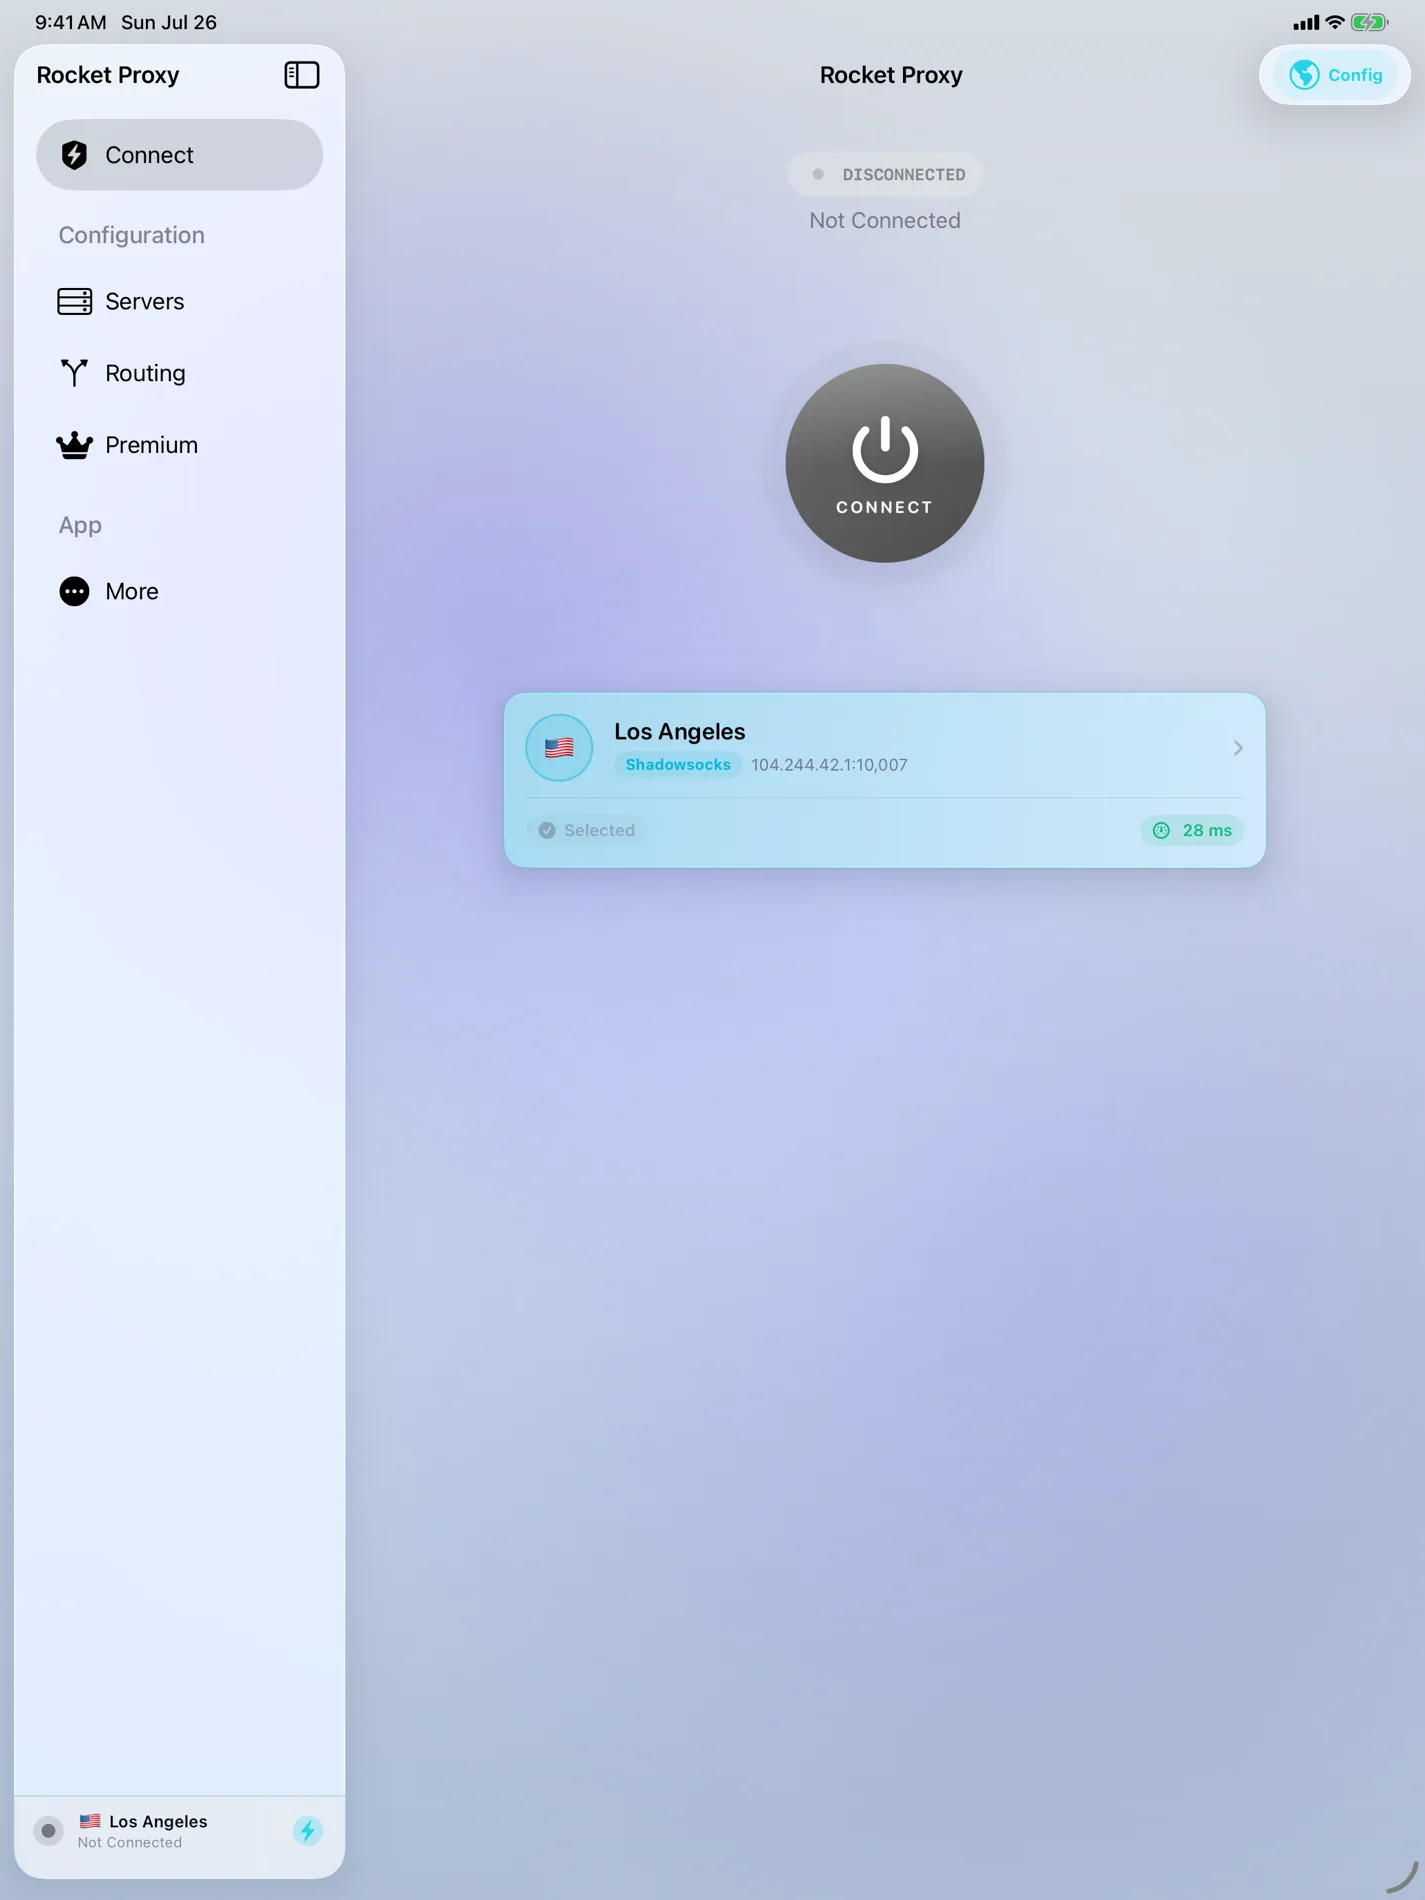
The Connect screen is home base. A single tap opens the tunnel; the interactive globe traces the path from you to your server, and a live panel shows session uptime, upload/download speed, data used and active connections in real time.
How it works
When you connect, RocketCore establishes the tunnel using your selected server's protocol and installs the routing rules for your current mode. iOS routes matching traffic into the tunnel; everything else follows your rules. The globe and stats read directly from the live engine, not estimates.
How to use
- Open the Connect tab.
- Check the selected server and Routing Mode chips below the button.
- Tap the power button to connect; tap again to disconnect.
- Watch Uptime, Download/Upload and Connections update live.
Routing modes
Connect tab → Routing Mode
Routing modes decide what goes through your server. Rocket Proxy gives you four:
The four modes
- Smart — follows your rule set: known ad/tracker and regional domains are handled automatically, the rest goes direct. The best everyday balance of speed and control.
- Proxy Everything — every connection is sent through the proxy. Maximum privacy and consistency.
- Direct — nothing is proxied; the tunnel stays up for ad-block and DNS only.
- Local Mode — runs entirely on-device with no remote server: pure network-level ad-blocking and encrypted DNS.
How to use
- On Connect, tap the Routing Mode control.
- Pick the mode you want; it applies immediately, even mid-session.
Smart Route
Connect / Smart Connect
Smart Route measures your servers and automatically connects you to the fastest reachable one — then auto-heals by switching away from a server that stops responding.
How it works
Rocket Proxy latency-tests your candidate servers and ranks them. When Smart Route is on, it picks the top performer at connect time and monitors health during the session, failing over if the active server degrades.
How to use
- Add two or more servers you trust.
- Enable Smart Route / Smart Connect from the Connect screen or More → Smart Connect.
- Connect as usual — Rocket Proxy chooses and maintains the best node for you.
Servers & 20+ protocols
Servers tab
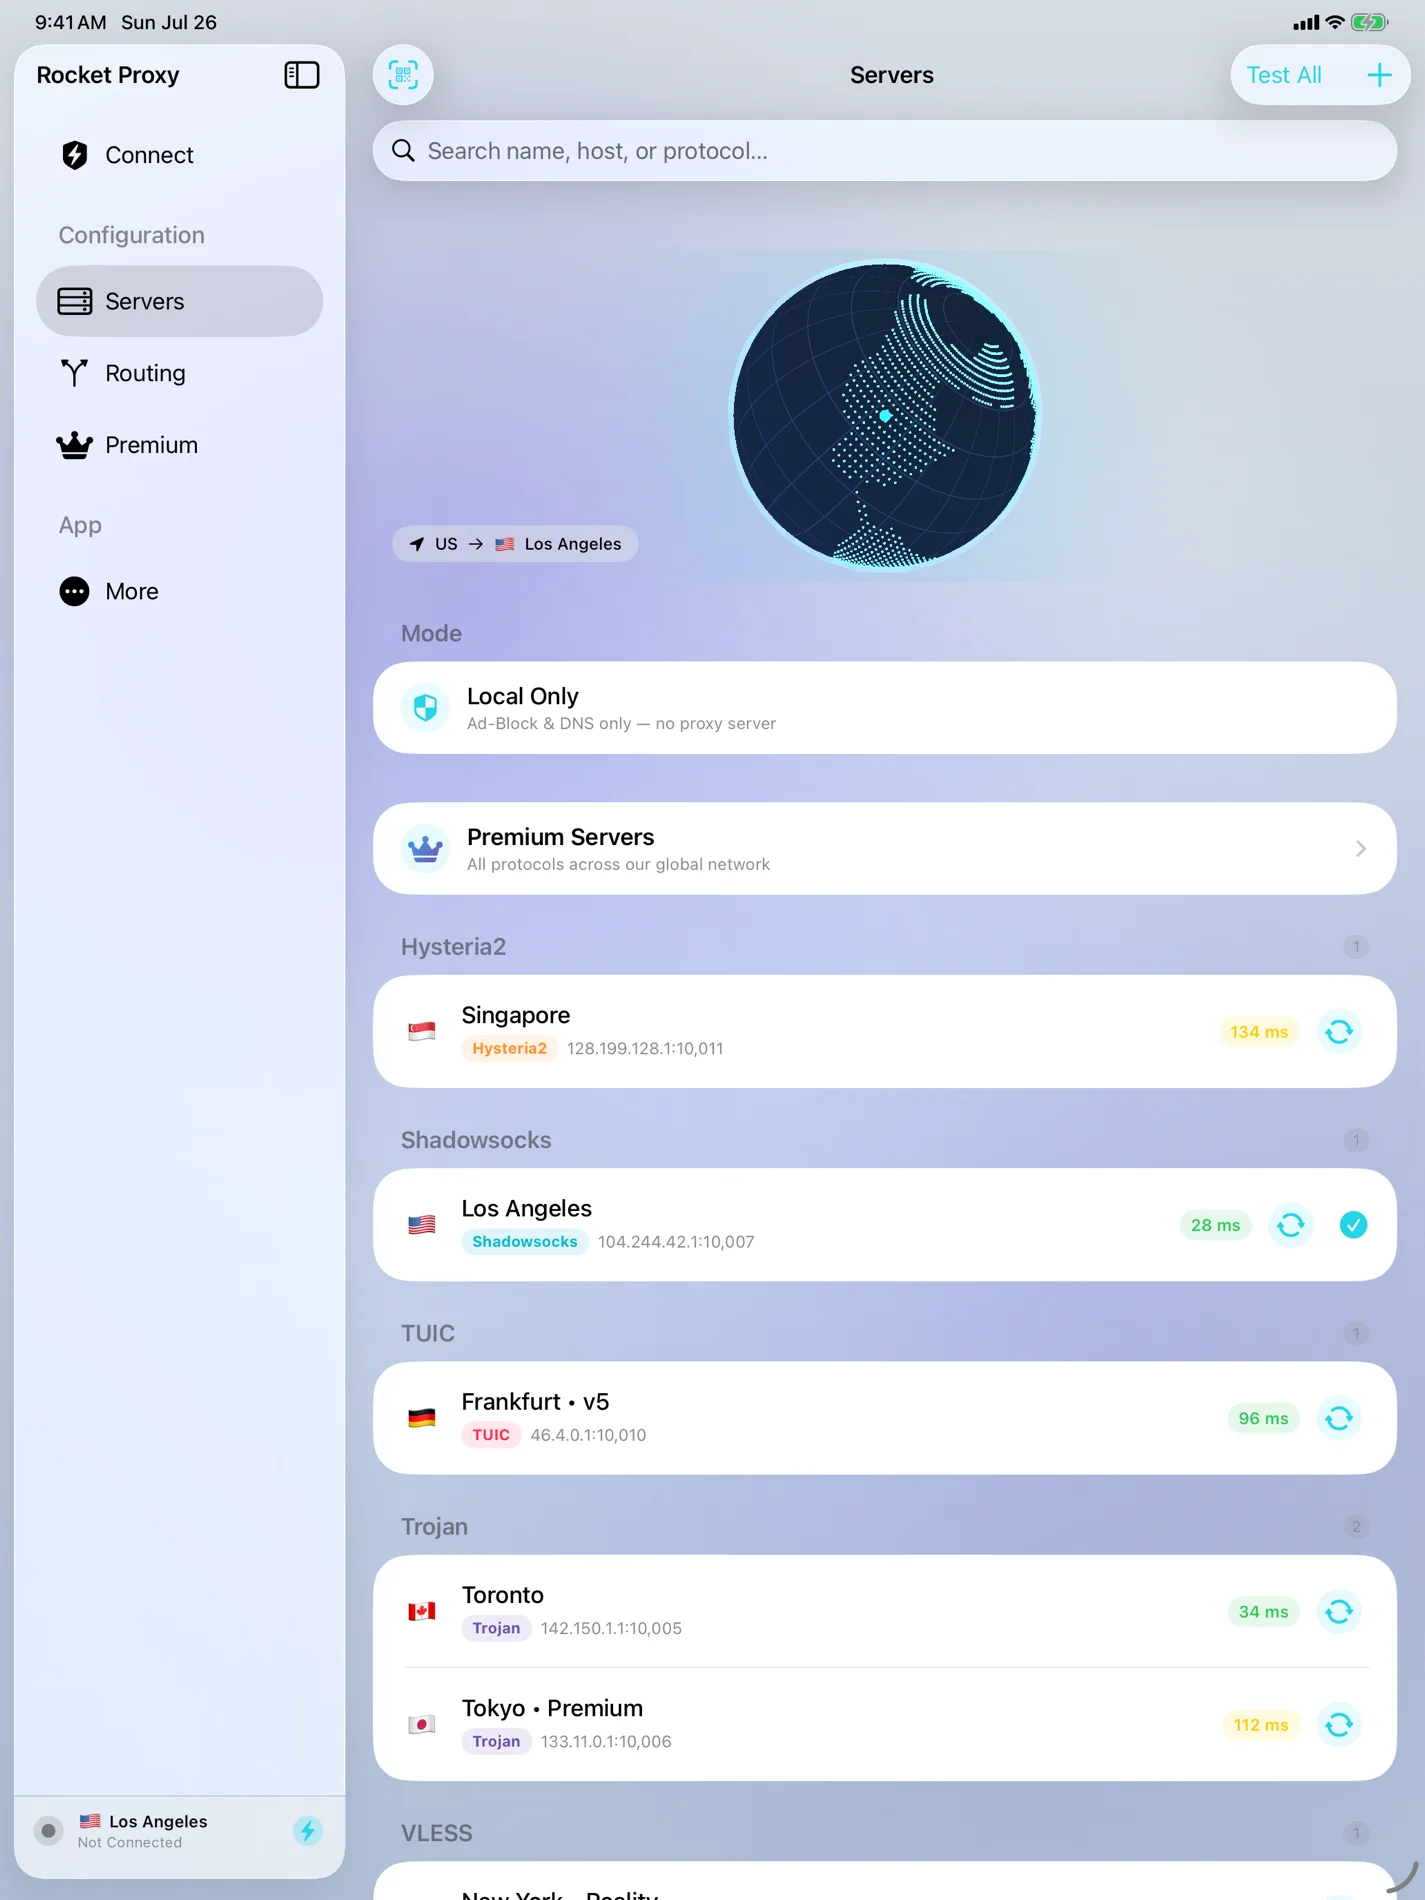
One engine speaks every major protocol: Shadowsocks, ShadowsocksR, VMess, VLESS, Trojan, Hysteria, Hysteria2, TUIC, AnyTLS, WireGuard, SSH, Snell, Brook, Mieru, SOCKS5 and HTTP/HTTPS, plus v2ray-plugin and obfs obfuscation.
How to use
- Open Servers and tap + (or Add).
- Add manually and pick the protocol from the Type picker, or import (next section).
- Fill address, port, credentials and any transport/plugin options, then Save.
- Tap a server to select it; long-press or swipe for edit, duplicate and delete.
Importing servers
Servers tab → Import
Four ways to add servers fast, so you rarely type anything.
How to use
- Paste a link — copy a
ss://,vless://,trojan://(etc.) URI and choose Paste Server Link. Multiple URIs at once are supported. - Scan a QR code — point the camera at a server QR to import instantly.
- Import a config file — open a subscription or config file from Files or a share sheet.
- Download from a browser — fetch a config straight from a URL.
Demo server & Free Nodes
Servers / More
New to proxies? A built-in free demo server lets you try every protocol with zero setup. Free Nodes pulls a curated list of public community servers you can experiment with.
How to use
- Tap the built-in demo server on the Servers screen and press Connect.
- For more, open More → Free Nodes and refresh the list.
Network ad-block
More → Ad Blocking
Block ads and trackers for every app at the network level — not just Safari — by filtering the requests before they load.
How it works
Rocket Proxy matches outbound connections against maintained block lists and drops known ad/tracker hosts inside the tunnel. Because it works at the connection layer, it covers apps and in-app browsers that content blockers can't reach.
How to use
- Open More → Ad Blocking and turn it on.
- It works in any mode, including Local Mode with no remote server.
Smart DNS
More → Smart DNS
Resolve names over encrypted DNS so your lookups can't be read or tampered with on the network. Supports plain IP, DoH (https://), DoT (tls://) and DoQ (quic://).
How to use
- Open More → Smart DNS.
- Add a resolver in any supported scheme (e.g. a DoH
https://URL). - Optionally set a fallback resolver for resilience.
Routing rules & the Rule Store
Routing tab
Rules are the heart of Smart mode: they decide whether each domain or app goes Proxy, Direct or is rejected. The Rule Store ships curated, maintained rule sets so you don't start from scratch.
How to use
- Open the Routing tab → Rules.
- Enable Curated Default Rules, or add your own domain / app rules.
- Browse the Rule Store to add topic sets (streaming, regional, privacy).
- Reorder rules — the first match wins.
Regional rules
More → Regional Rules
One switch to auto-route traffic for a region — handy for keeping regional apps and services behaving as expected while you travel.
How to use
- Open More → Regional Rules and enable the region set you need.
- Update the set periodically to pick up new domains.
JavaScript rule engine
Routing / Config → Scripts
Run JavaScript to intercept, inspect and rewrite requests and responses — MITM-style automation in your pocket.
How to use
- Open the Script Library and add a script (paste, import or write your own).
- Set its trigger pattern (which requests it runs on).
- Enable it and watch it act on matching traffic.
HTTPS inspection & rewrites
Routing → Inspect HTTPS Traffic
Decrypt and inspect your own TLS traffic for debugging, then reshape it with URL Rewrite, Header Rewrite, Body Rewrite and Map Local (serve a local response for a URL).
How it works
Rocket Proxy generates a local root certificate. Once you trust it on the device, the app can decrypt HTTPS to the hosts you choose, show the contents, and apply your rewrites — all on-device.
How to use
- Open Routing → Inspect HTTPS Traffic and install the local CA certificate when prompted.
- Trust it under Settings → General → About → Certificate Trust Settings.
- Choose which hosts to decrypt, then add URL/Header/Body Rewrite or Map Local rules.
Configuration files
Routing → Configuration Files
Import complete configuration profiles (servers + rules + DNS) and switch between them — great for separating work, home and travel setups.
How to use
- Open Routing → Configuration Files → Add Configuration.
- Import from Files, a URL, or paste.
- Tap Use This Config to activate it.
Smart Connect & on-demand
More → Smart Connect
Auto-connect rules bring the tunnel up automatically on the networks you choose — for example, always connect on untrusted Wi-Fi, stay off on your home network.
How to use
- Open More → Smart Connect.
- Enable Auto-connect rules / On Demand.
- Choose the conditions (e.g. any Wi-Fi, cellular, specific networks).
Streaming Mode
More → Streaming Mode
Tunes routing for media and living-room services so streams resolve to the right region and play smoothly.
How to use
- Open More → Streaming Mode and enable it.
- Pick your target region if prompted, then connect.
Data Insights & statistics
More → Data Insights
See where your bandwidth goes with a per-service breakdown of data and speed, plus overall connection statistics.
How to use
- Open More → Data Insights.
- Review per-app/per-service usage and live throughput.
HTTP Inspector
More → HTTP Inspector
A live log of connections and requests flowing through the tunnel, with system info for debugging.
How to use
- Open More → HTTP Inspector.
- Watch requests appear in real time; tap one to inspect details.
Privacy Dashboard
More → Privacy Dashboard
A plain-language view of how Rocket Proxy handles your data, what a proxy can and can't see, and how many trackers you've blocked.
How to use
- Open More → Privacy Dashboard.
- Read "What a proxy can see" and your blocked-tracker counts.
iCloud sync
More → iCloud Sync
Your servers, rules and DNS follow you to every device via your private CloudKit store. It's your iCloud — we can't read it.
How to use
- Open More → iCloud Sync and Turn On iCloud Sync.
- Use Push Now / Pull Now to sync on demand, or leave Automatic Sync on.
Nearby transfer
Servers → Share / Nearby
Send servers and configs directly to a nearby device, peer-to-peer, without going through the cloud.
How to use
- On the sending device choose Nearby / Share and select what to send.
- On the receiving device open the Nearby receive screen and accept.
Tunnel options
More → Tunnel Options
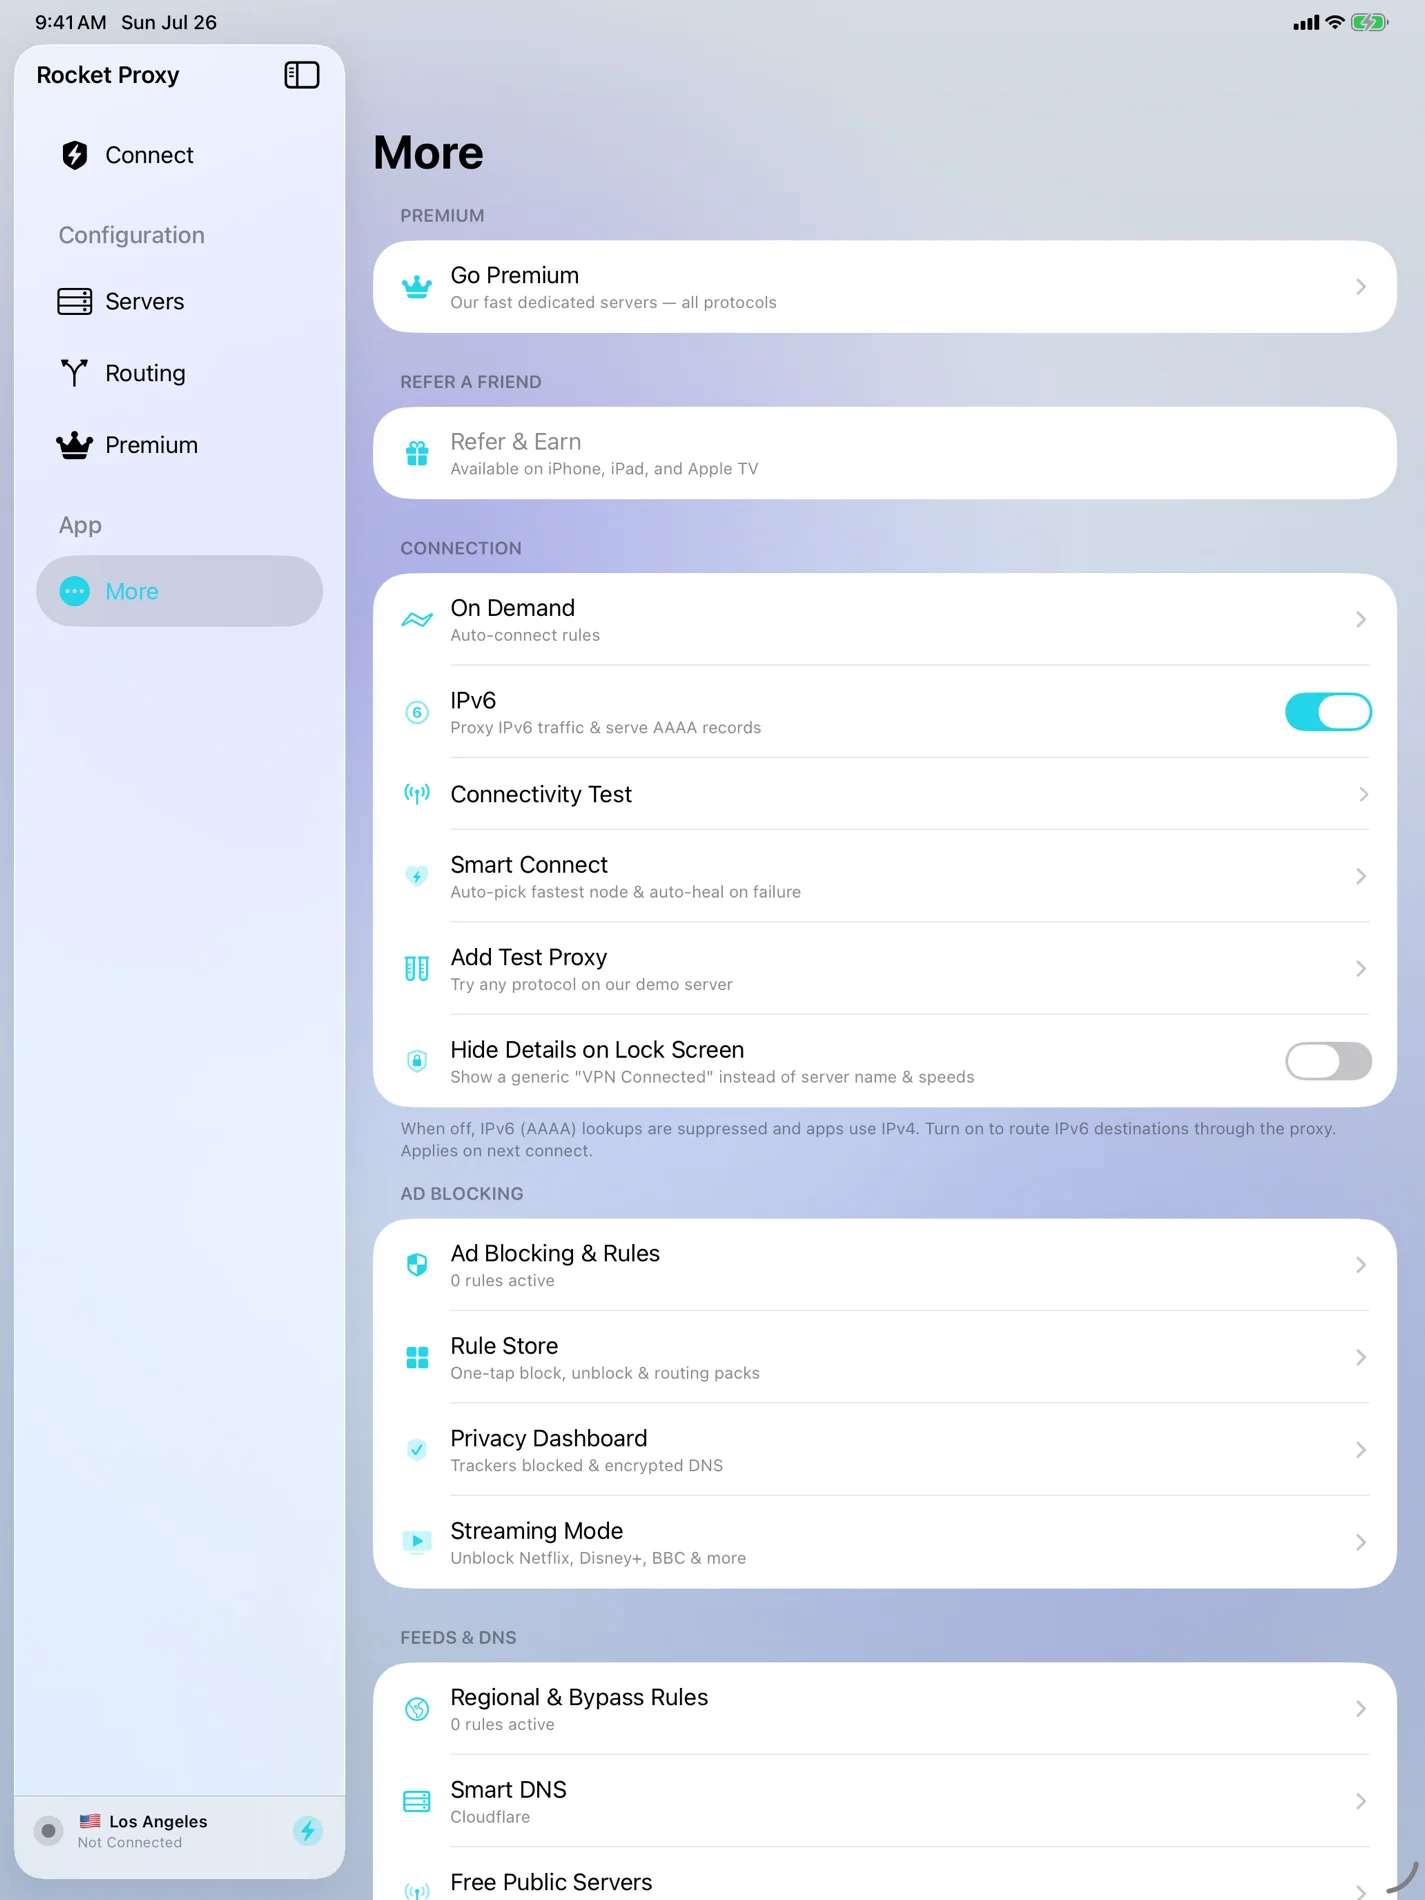
Advanced tunnel behaviour: IPv6 (proxy IPv6 traffic and serve AAAA records), on-demand, skip-proxy lists, Always Real IP, and test-proxy tools.
How to use
- Open More → Tunnel Options.
- Toggle IPv6, on-demand and DNS/skip-proxy settings to match your network.
Diagnostics & logs
More → Diagnostics
Run a Connectivity Test, view system info and memory, and export logs when you need to report an issue.
How to use
- Open More → Diagnostics.
- Run the Connectivity Test; export logs to attach to a support email.
Dynamic Island & Live Activities
System-wide
Connection status, speed and data appear in the Dynamic Island and on the Lock Screen via Live Activities, with refined haptics and sound on connect.
How to use
- Connect — the Live Activity starts automatically on supported iPhones.
- Prefer discretion? Enable Hide Details on Lock Screen in settings.
iPad differences
iPadOS
Everything above works identically on iPad — presented in a roomy split-view layout with a persistent sidebar, ideal for multitasking and Stage Manager. Import via QR, Files, or drag-and-drop.